
Creating your own Christmas wreath is a wonderful way to bring warmth and festive charm into your home.
By using existing materials with a few add-ons, you can create personalised and meaningful decorations.
Inspired by my eldest sister, Maureen, who used to make her own wreaths, I decided to create one with my own twist.
Using ivy branches as the frame- ivy is a flexible, sustainable, and strong material. Ivy can be found anywhere: in gardens, in the park and in woodlands.
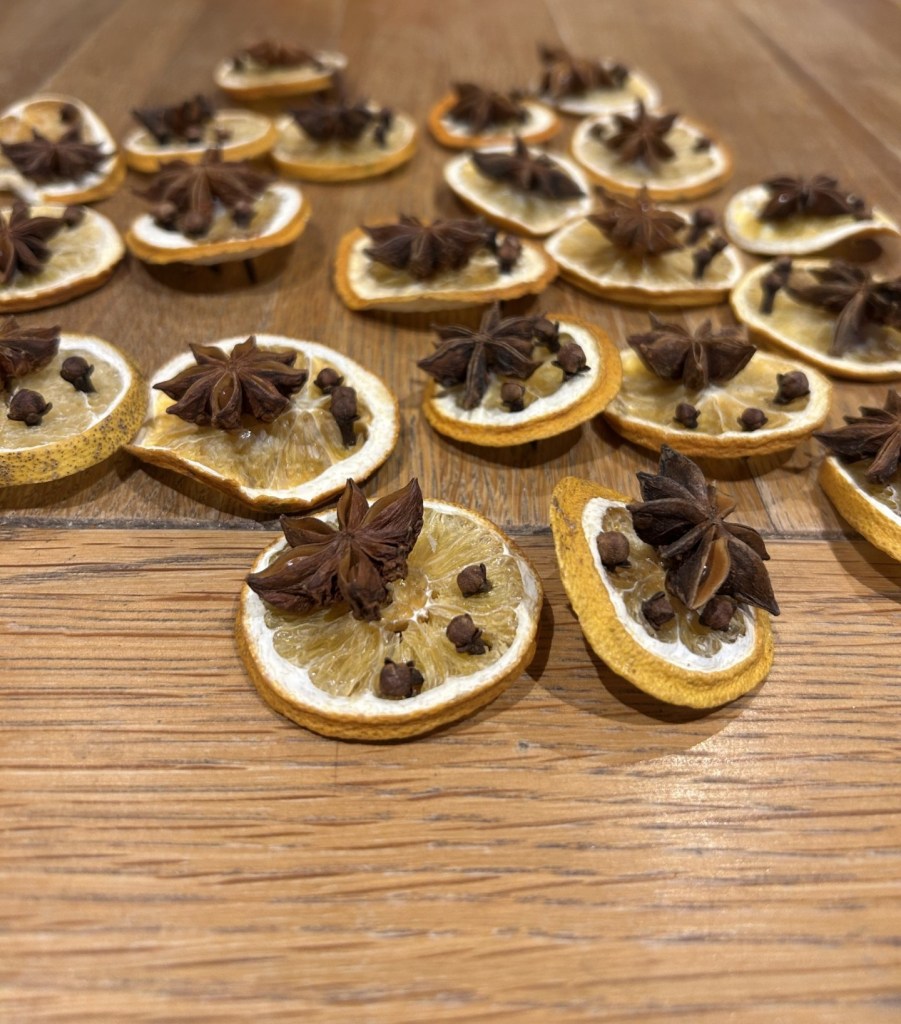
For a cosy, aromatic touch, I combined dried oranges, cloves, and star anise to create a beautiful scent that fills the home.
To make dried oranges, simply slice an orange thinly, lay the slices on a baking sheet, and bake in the oven for 45 minutes to 1 hour at 140°C/ 120°C fan/gas. Once done, leave them to cool. – They will smell amazing!
In this blog, I’ll show you step by step how to make your own Christmas wreath using ivy branches — an easy and effective way to bring festive spirit (and smells) to your home this Christmas.
Be sure to wash all ivy, pine cones, and acorns before using them to remove any dirt, bugs, or loose debris.
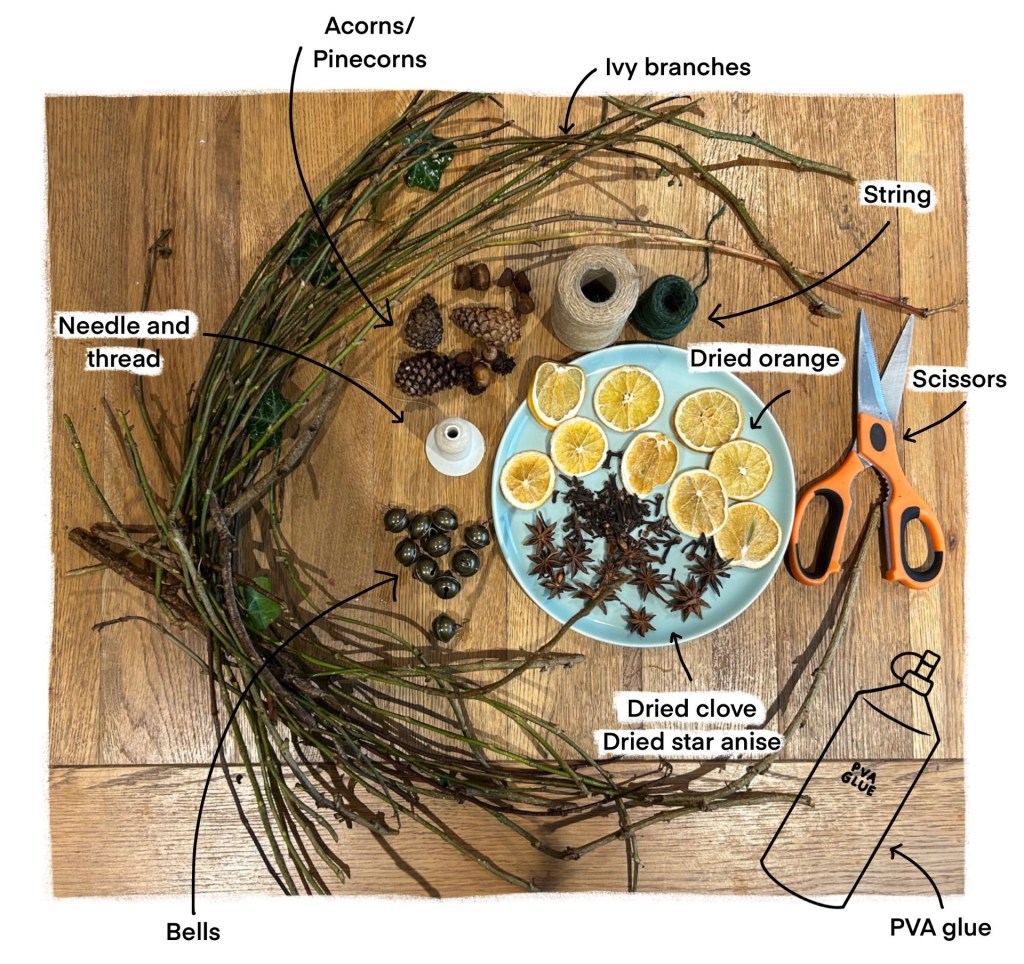
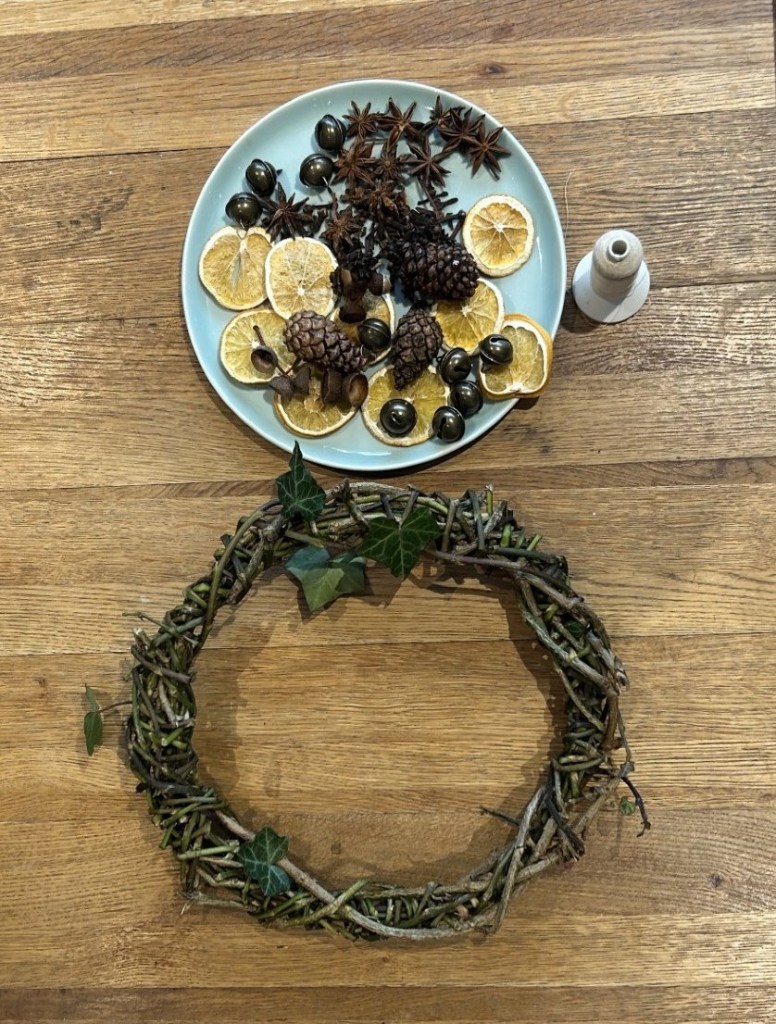
To make this Christmas wreath, you will need:
- Ivy branches (two handfuls of ivy branches, try to cut roughly 60cm long).
- Acorns/ Pine corns (only need 2/3)
- String
- Dried Oranges
- Scissors
- Dried cloves
- Dried star anise
- PVA glue
- Needle and thread
- Optional: Bells
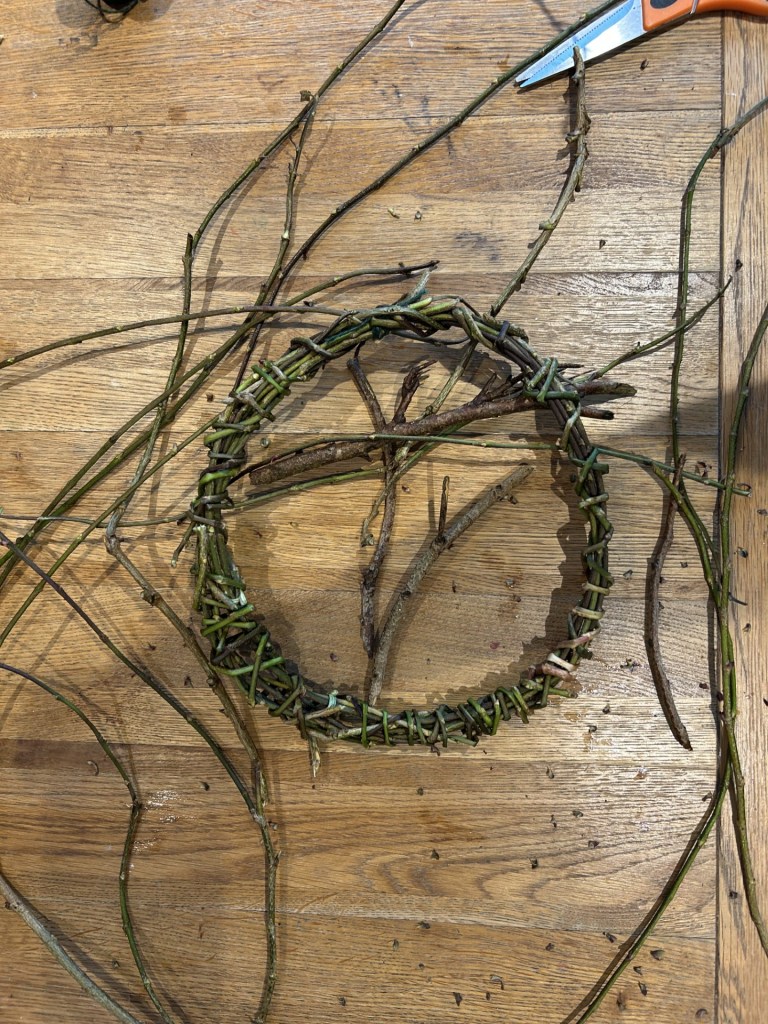
- Start by using half the amount (maybe less) of the Ivy branches to make the frame of your wreath. Using the Ivy, make a circle shape and secure them together using string- make sure to double-knot it so it doesn’t come loose.
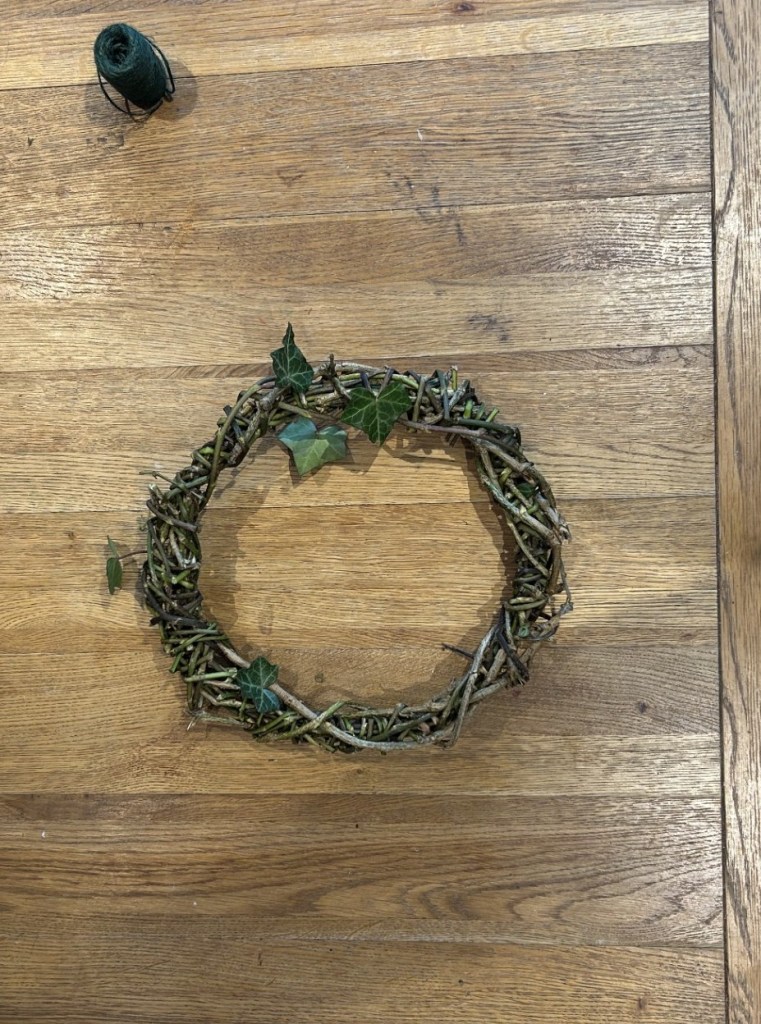
- Use the remaining branches to wrap around your wreath frame – as shown in the images.
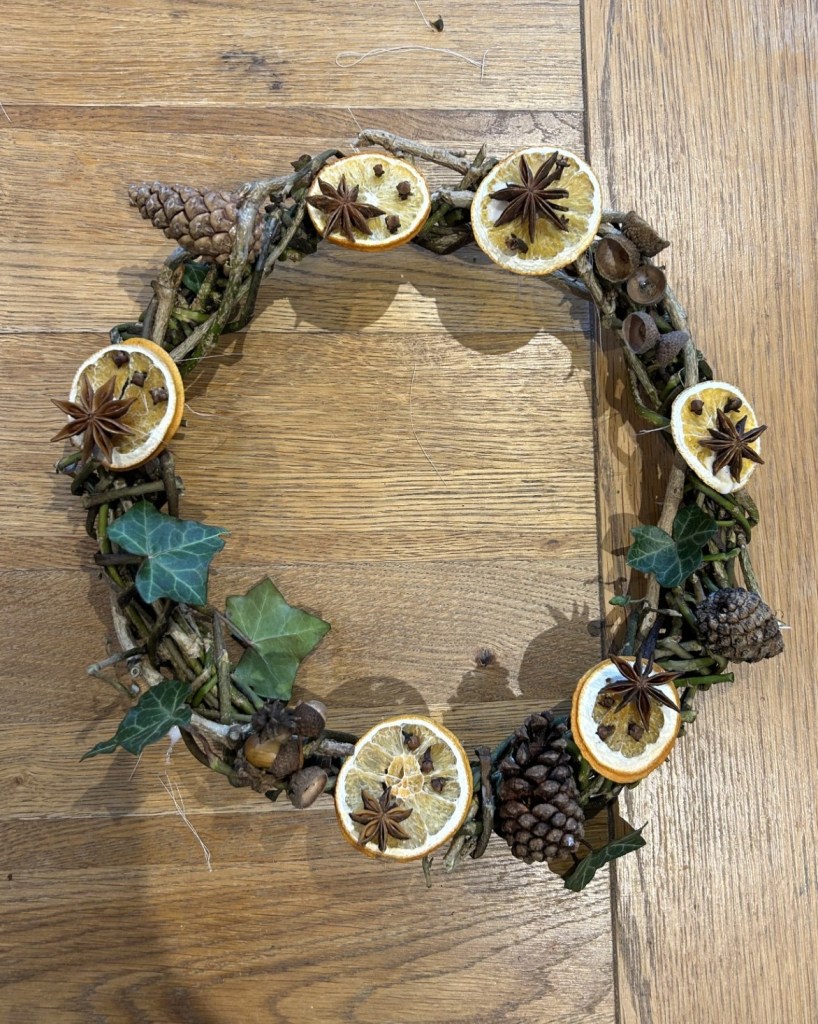
3. Add the pine cones/ acorns to the wreath using glue. Add a few (2/3) as you will need space for the oranges. Allow the pine cones/ acorns to fully dry to the wreath.

4. Once the oranges are cooled, add the dried cloves and star anise to the oranges- arrange them in any style you choose.
5. One by one, place them on the wreath in any style you want. Secure them by using the needle and thread – push the needle with thread through each of the oranges to secure them to the wreath. Cut off any excess string. Be careful as the needle is sharp, and placing the oranges may be tricky!

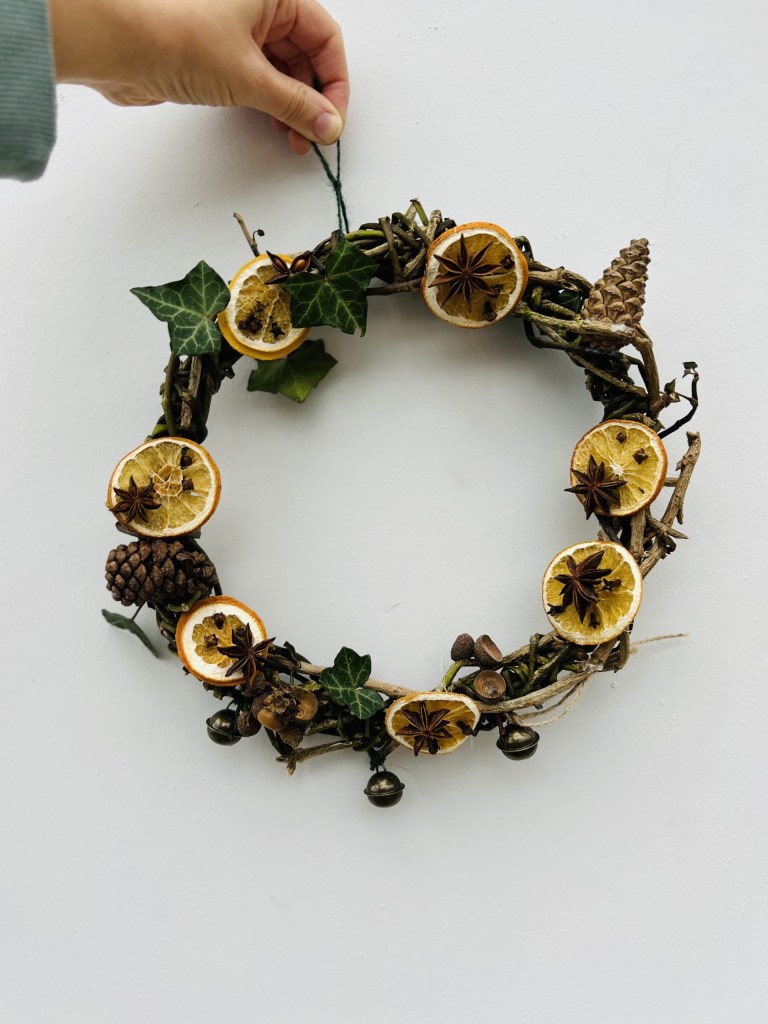
6. Lastly, cut enough string to hang your wreath up. You may need to evenly wrap the string around the top area of the wreath first, make a double-knot to the wreath and then, with the remaining bit of string, make a double-knot at the end to create a hoop to hang your wreath.

Optional:
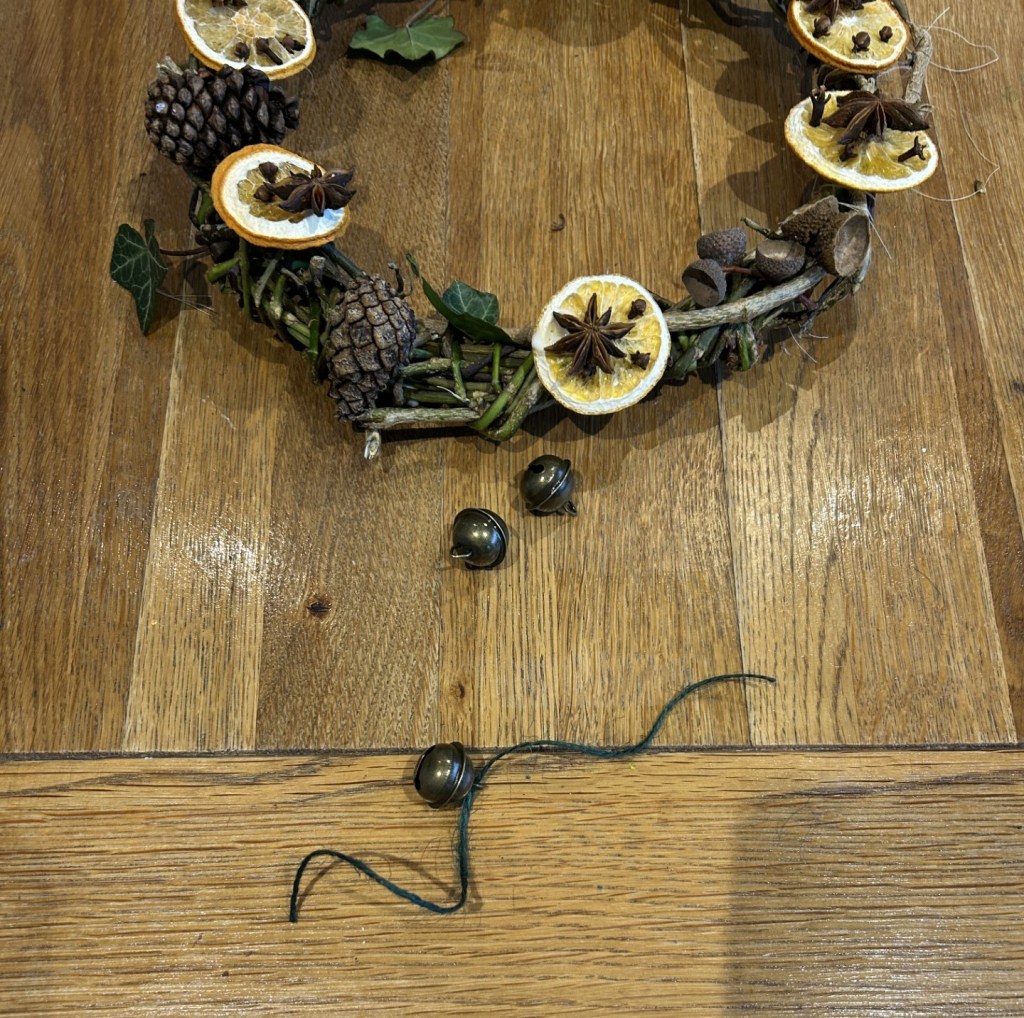
Use a bit of string for each bell and place them at the bottom of the wreath, double-knot to secure them in place.

Hooray! You have your very own Christmas wreath:
Extra:
If you have extra slices of oranges or pine cones, you can use them in other decorations around the house. For example:
Add them evenly to a long piece of string using glue to secure them. Allow them to thoroughly dry to the string.
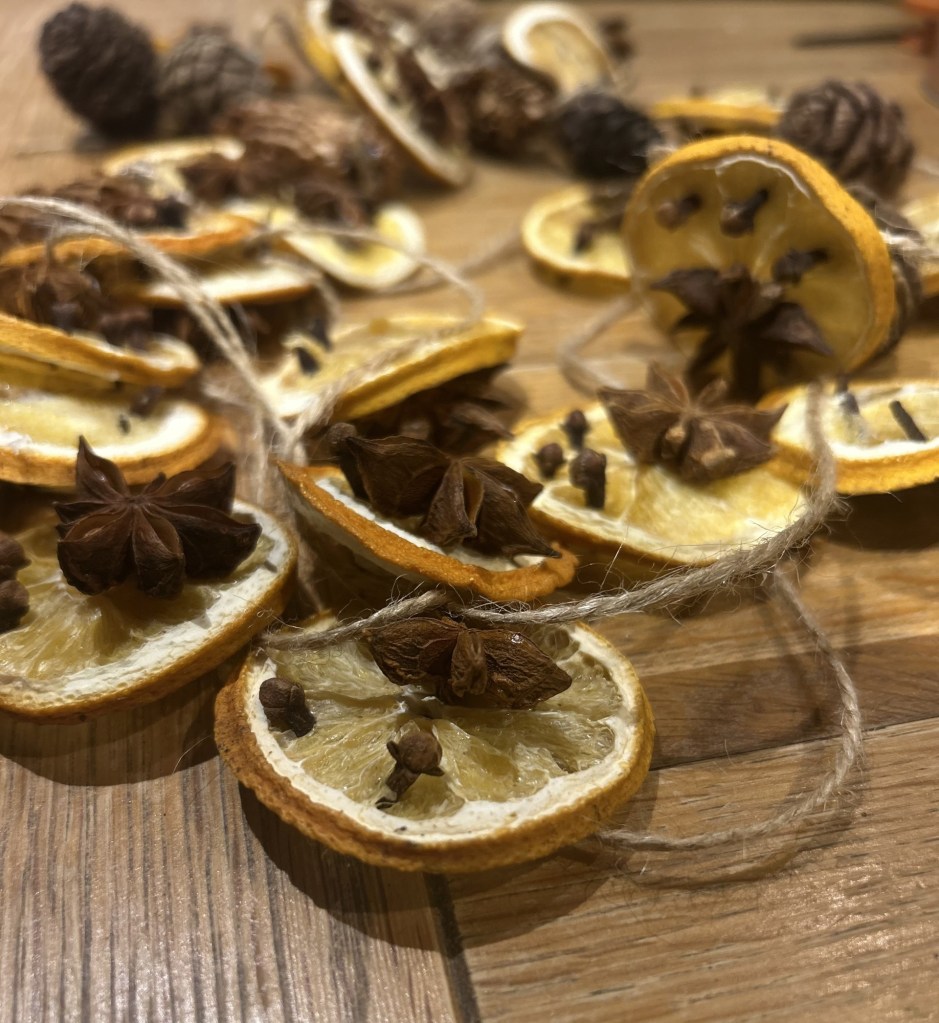
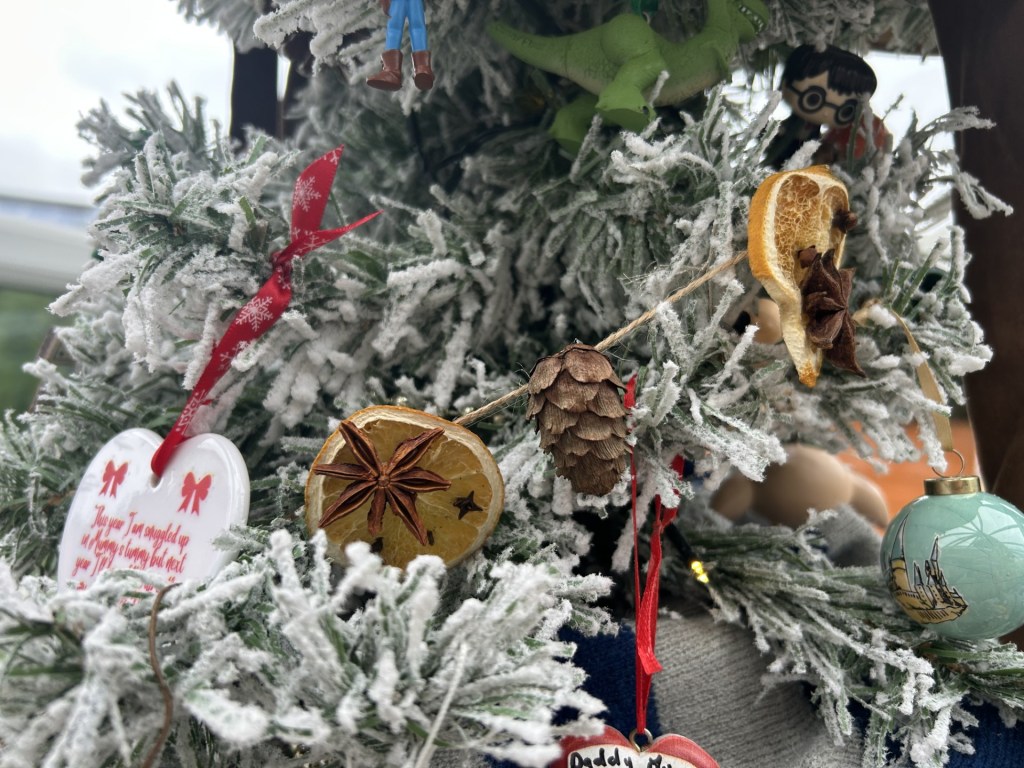
You can place them anywhere, I’ve added mine to the Christmas tree – and it smells amazing!:
I hope you enjoyed creating these Christmas decorations, you can also find more arts and crafts ideas on my Ko-fi page.
Happy Crafting! 🙂
